Wednesday 11 June 2014

WEEK 14

Date:  12  - 16 May 2014
 
Subject : 1) Prepared a slide for presentation day on Friday


Introduction:
The purpose of this task is to put all important information into the power point slide such as introduction, objectives, methodology, simulation, and etc.


Objectives
  1. To explain in detail about the objective of the project.
  2. To get any feedback or new idea regarding my project from assessors.

Project Description:

This week is to summarize all important information and put into the power point slide. It must be studies more detail and understanding the project progress for better explanation to the assessors. The information must be based on technical specification of the product. Below is all slides  that have been done during presentation day.  


Problem Encountered:

It have no problem appear during this preparation for presentation day. All work progress has been done successfully.


Project Outcome:
More outcome has achieved from this research. More understanding has been achieved during this slide preparation. In fact, I have get new knowledge when do the research in terms of components, previous researches and objectives that need to achieved.

WEEK 12 and 13

Date:  28 April  - 9 May 2014


Subject: The process of making a project report draft


Introduction: This report is included all information, methodology of the project development.


Objectives
  1. To create a report based on marking assessment from FYP coordinator.
  2. To make the report easy to understand and avoid from grammatical errors..

Project Description:

1.  This report is based on assessment marking scheme from FYP coordinator. To get a high marks in terms of the content of this report, grammatical rules, it is need to submit a draft to my supervisor. So that my supervisor can make a correction of my report.

2.  Below is the marks scheme for the project report. I need to follow each of the rules inside this scheme started from abstract, introduction, literature review, methodology, results and analysis and conclusion.
Figure 1: Project report marking assessment
 3.  Figure 2 shows the project development flow chart from the beginning until the end. I need to sketch the learning process starting from planning and design till installation. So all procedure can be achieved on schedule.

Figure 2: The project development flow chart

Problem Encountered:

From overall project development, it have much problems appeared and I can solved it part by part from make a discussion between my supervisor and researchers at the internet.
 
Project Outcome:
 
I have increase my knowledge in troubleshoot the electronics part. Then I can think a solution from the problems appear. Hence, my project development is on schedule and I should encounter no problems finishing it.  
 

WEEK 11

Date:  21  - 25 April 2014


Subject: The process of making a project base for machine moved.


Introduction: Make a project base from cardboard and real grass.

Objectives

  1. To build the grass cutter base.
  2. To test and run the machine on that base.

Project Description

1.  First, I have been bought a grass from nursery at Sungai Buloh. This grass need to put on the playwood for this machine moved to cut that grass as in figure 2. I have spend around RM 20.00 for this types of grass.

2.  After that, I have to arrange the cardboard as in figure 1 to act as an obstacle. The distance analog sensor will sense that cardboard and do their work as programmed.

Figure 1: Cardboard and grass have been arranged on that project based

3.  This grass is very thick and wet and it can make this machine difficult to move. So I need to make this grass dry for make this machine moved without any problems obtained.

Figure 2: The grass is arranged to make as a football field
4.  This process have been done in 1 hour duration. It is not difficult to do but it is dirty work because it is involved with real grass. Figure 3 shows the complete project base.

Figure 3: The complete project based

Problem Encountered:

From this task it have a few problems obtained which is the machine cannot moved on this grass. This grass is thick and wet so it have make this machine difficult to moved since it's just used a small wheel. But this problem has solve by make that grass dry.
 
Project Outcome:
  
The project have been successful done. Hence, my project development is on schedule and I should encounter no problems finishing it.  


WEEK 10

Date:  14  - 18 April 2014


Subject: Hole work and components installation.


Introduction: This task is to install all components used for this projects.

Objectives
  1. To install all components used.
  2. To test and run the machine.

Project Description

1.  First I need to make a hole for each component based on the circuit designed. This is for install and solder the components such as Integrated Circuit (IC), resistor and else. 
 
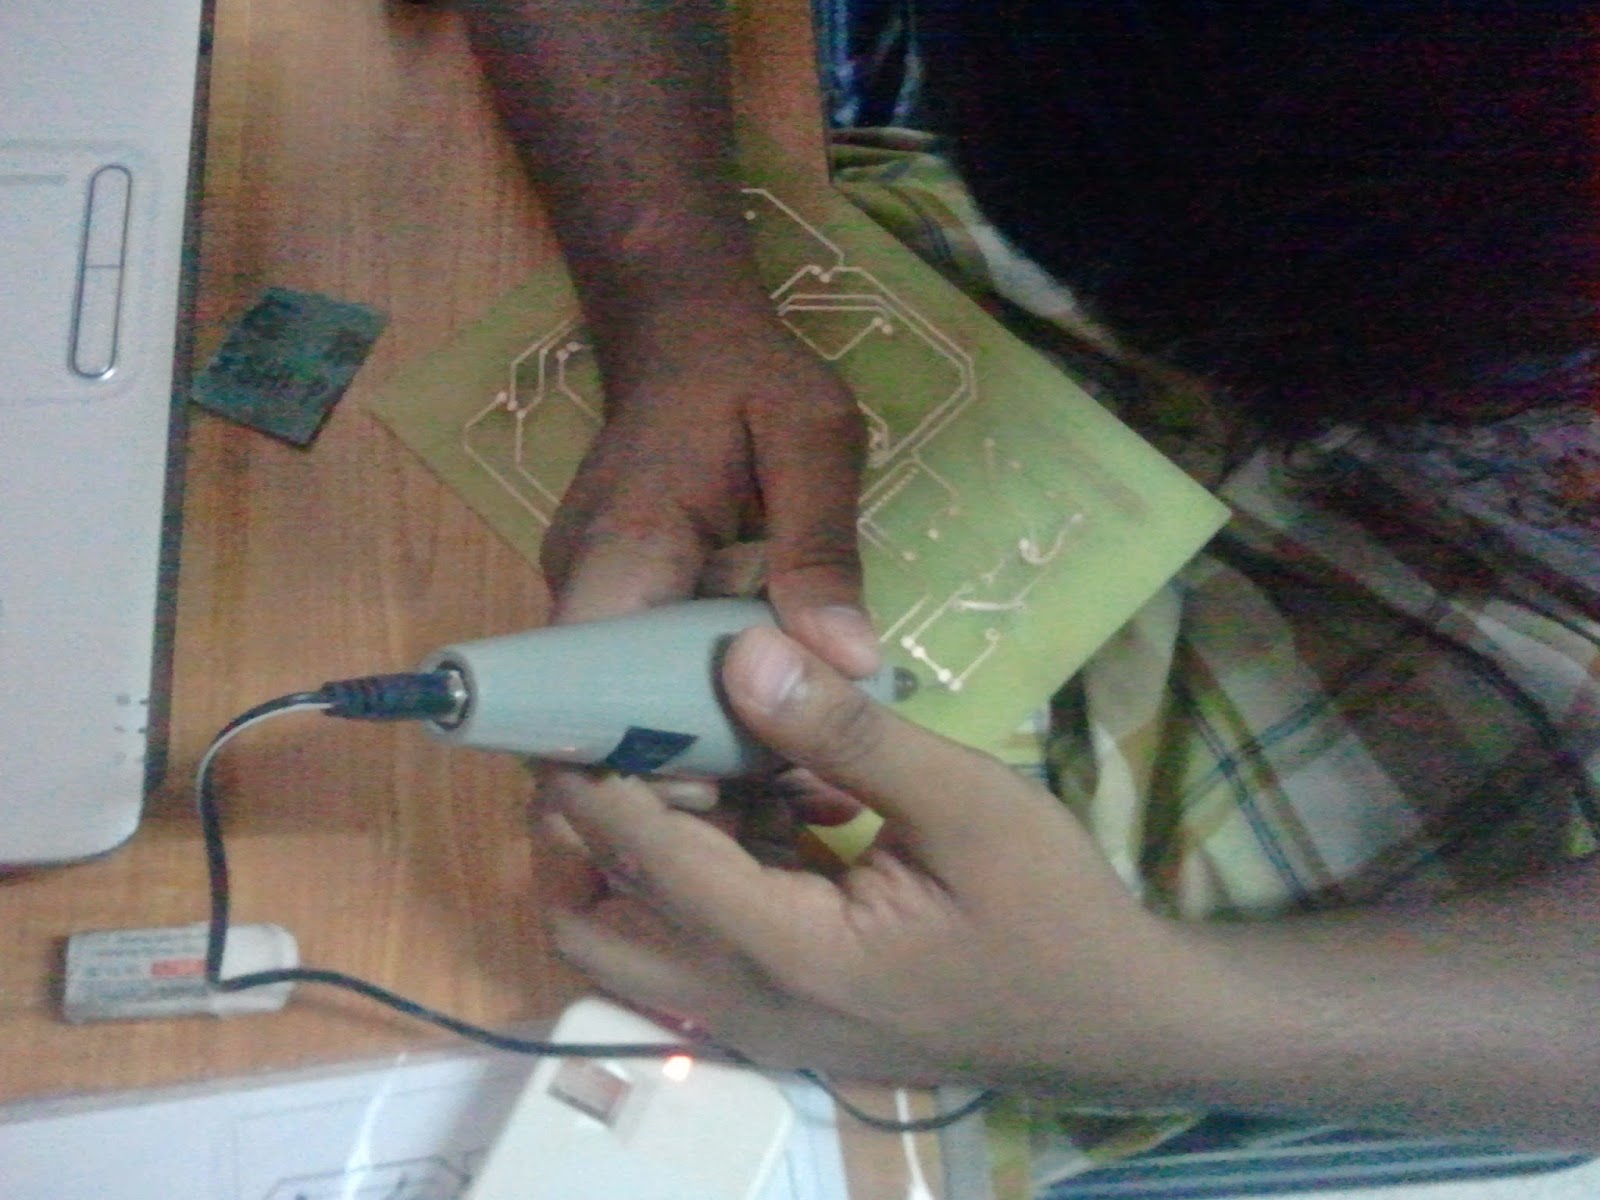
Figure 1: The process of make a hole for each components used

2.  Second is the process of install the components to the PCB board as in figure 2. It must be follow the component places in the software and the leg for each component need to put in correctly. If not the circuit will not function.

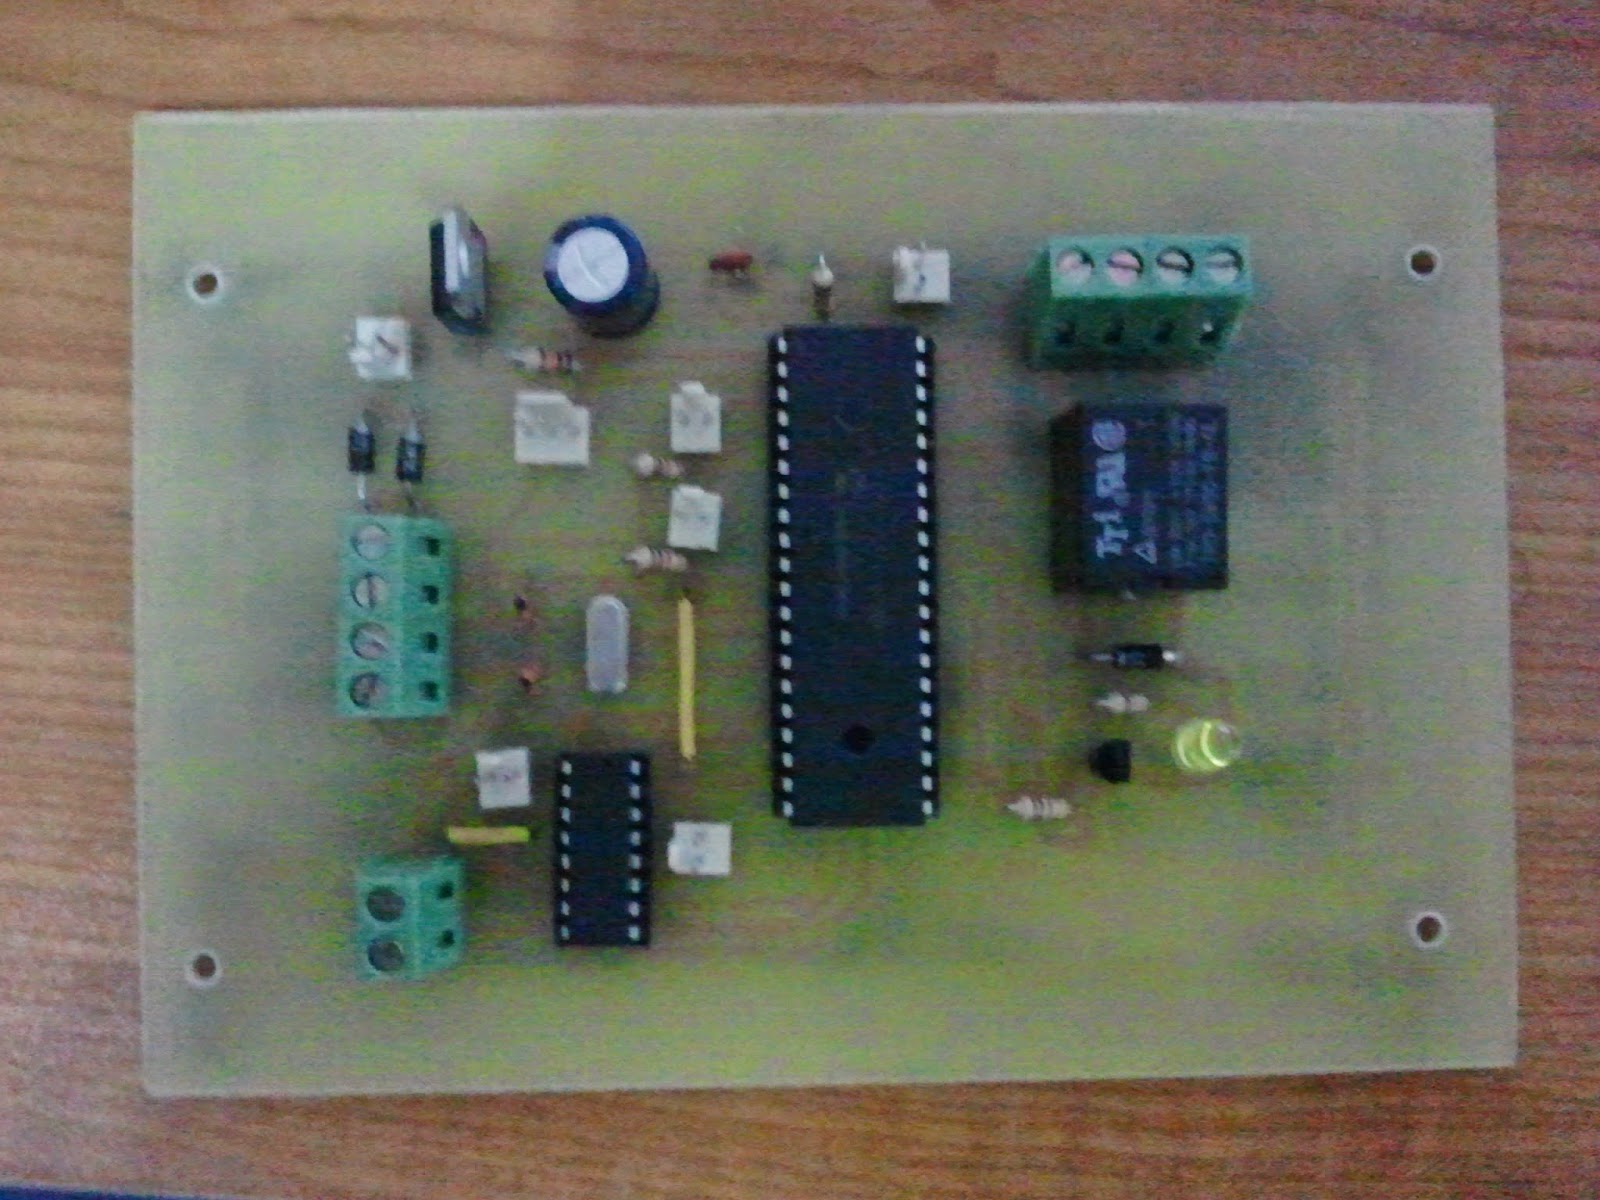
Figure 2: The component have been put correctly
3.  From figure 3, it is the complete of soldering process for all components. it is need to make sure that the solder is not touching with the other leg to avoid any short circuit happened.

4.   After all components have been done, then the wire connection can be started. The cable need to connect correctly to avoid any components broken. It is very important to make sure the components in a good condition especially a sensitive components which is IC, sensor and driver motor.

Figure 3: The soldering process have been done
5.  Figure 4 shows that the process of wire connection for battery holder and blade motor. The PIC have been put slowly to avoid the leg broken. I have used 8 1.5V AA battery and 2 9V battery for the supply.

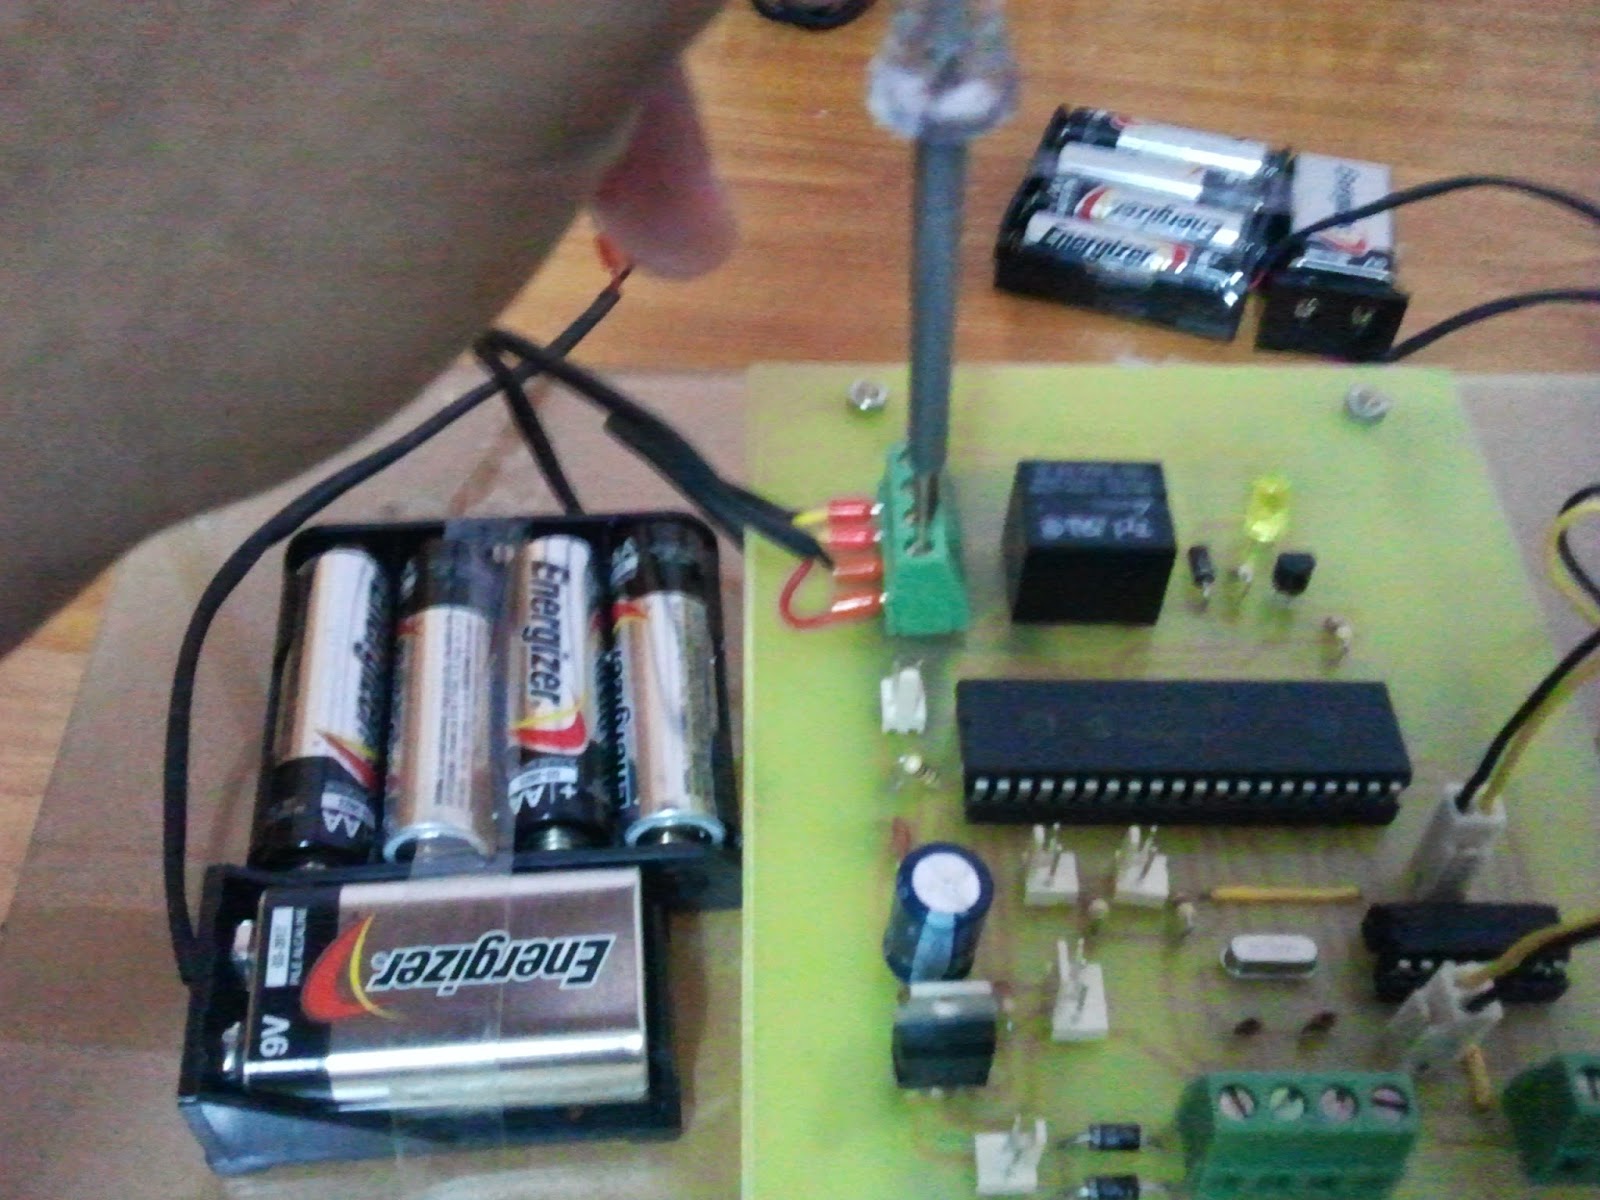
Figure 4: The wire connection process
6.  After all task have been done in terms of PCB board installation and tires as in figure 5, then it can continued with the testing process. This result was produce a good result which is the machine have been moved in expected result. It can moved forward when there is no obstacle and else if not have an obstacle in front of that machine.

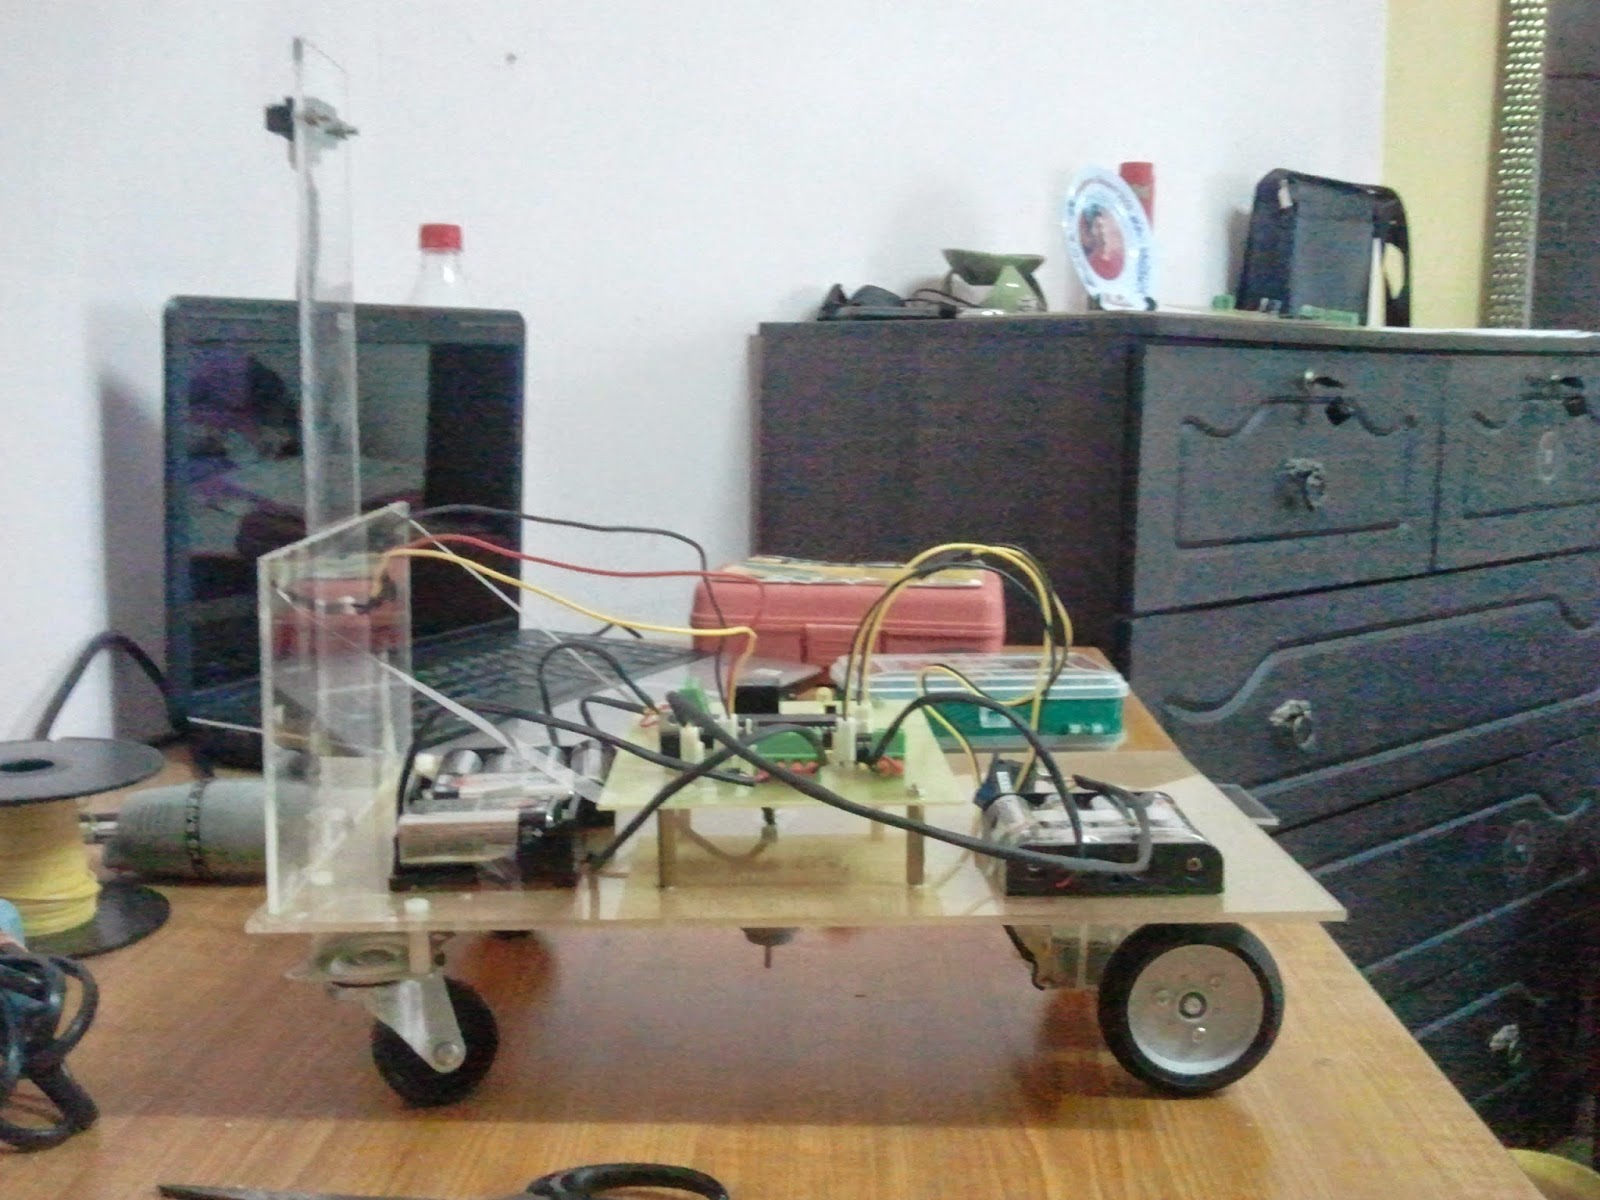
Figure 5: The complete installation

Problem Encountered:

There have no error obtained from this task. The machine have been move as in designed programmed. But I have interfaced with much problems during this overall project development such as circuit failure, broken components and programmed failure.
 
Project Outcome:
 
I have increase my knowledge in troubleshoot the electronics part. Then I can think a solution from the problems appear. Hence, my project development is on schedule and I should encounter no problems finishing it.  


Monday 9 June 2014

WEEK 9

Date:  7  - 11 April 2014


Subject : Testing part for all compartment in this project.

Introduction: This task is to check all circuit and also PIC either it is well functional as designed.


Objectives
  1. To test and verified the PIC circuit.
  2. To run the machine as expected design.


Project Description:


1. First, I need to connect all circuits and other material such as motor, tire, blade motor into body compartment as in figure 1.


Figure 1: All circuit have been done connected
Figure 2: The installation of LED, battery snap 9V and 12V

Figure 3: The installation of the blade motor


2. From figure above, all connection need to put in correct polarity based on the circuit. If wrong connection it might be cannot well function. 

3.  Then the IC has been put on the IC leg on the PCB board. Unfortunately the circuit had not functional as expected. 

4.  The motor cannot move forward when not detected any obstacle in front of that machine. I also have change the cable but it also moved in the same direction.


Problem Encountered:
 

There have an error obtained from this task which is the motor cannot moved forward or reverse. The motor sometimes moved forward or reverse without follow the way of program designed. So I need to rebuild again with Eagle software with new circuit designed. There might be have some failure with circuit design and also with Proteus software
 
Project Outcome:

 
Some knowledge have been obtained from this task which is I have learned the different connection of PCB from Proteus or Eagle software. Two software have different packages for PCB layout. Hence, my research project is on schedule and I should encounter no problems finishing it.  


Subject : Rebuild a PCB board using Eagle software.

Introduction: This task is to designed back a PCB circuit but using a different software which is Eagle software.


Objectives
  1. To test and verified the PIC circuit.
  2. To design a PCB circuit


Project Description:


1. First, I need to find all components used in this machine to designed a PCB or PIC circuit.

2.  From figure 1, I need to put back all components such as IC, L293D, resistor and else at suitable place.


Figure 1: All components have been put at a suitable place
 
3.  This software is quite different with Proteus because from Eagle I need to do a connection manually which is do a route to the component part by part. Then I can choose either the route can be automatically set up or I can do it manually as my designed route. Compared to Proteus, I can do a fully automatic route which is completely designed by software itself. For the components, Eagle is a simple designed software and easier to understand. 


Figure 3: The complete PIC circuit

4.  Figure 3 shows the completely PIC circuit by using Eagle software. After all procedure have been done, I need to print it on transparent paper and iron it on the PCB board as in figure 4. All steps is the same as the previous one which is when using Proteus software.

Figure 3: The complete PIC circuit on PCB board

5.  After it have been printed on the board, I need to check all route either it have a miss route or non clear route and need to reroute using a permanent marker pen. This is to make the route fully connected to each component and make this circuit functional.


Figure 4: Marker pen is use to reroute the miss or non clear route to the components

Figure 5: Completely printed PIC circuit on the PCB board


Problem Encountered:
 

There have no error obtained from this task. The circuit is completely done printed on the PCB board and ready to make a hole and put all components to the board.
 
Project Outcome:

 
Some knowledge have been obtained from this task which is I have learned the different  software to make a circuit. Two software have different packages for PCB layout. Hence, my research project is on schedule and I should encounter no problems finishing it.  


Friday 6 June 2014

WEEK 8


Date:  1  - 4 April 2014


Subject : Program testing by using Proteus software.

Introduction: The program need to build and compiled by using a software to detect an error obtained. 


Objectives
  1. To test or compile the program using software.
  2. To simulate the program and test using proteus software.
  3. To check either the program functional or not.


Project Description:


1.  This task is to check the motor program either it is function as design. for this project, the motor will move forward when there is no obstacle in front of this machine or reverse if have an obstacle. 
 
2.  The circuit have been design as in figure 1 using Proteus software. This program is easy to use in terms of find the component and do a simulation. 

Figure 1: The circuit design from Proteus software

3. In this circuit also have been connected the oscilloscope to the L293D  to check the waveform for different direction. From this simulation the waveform shows that when in forward direction it will obtained the signal '1' and different for reverse direction.

4.  Table 1 show the result obtained.

Table 1: The result from simulation


Problem Encountered:
 

There have no error obtained from Proteus software. It have been produced an expected result. So, it can analyze that there is no problem with the program since no error obtained from simulation.

 
Project Outcome:

Some knowledge have been obtained from this task which is I have learned how to used this software. Hence, my research project is on schedule and I should encounter no problems finishing it.